Why a Thermal Camera Planner Is Essential for Modern Security Design
When I first started designing security systems, thermal cameras were a niche tool reserved for military sites and high-end industrial plants. That has changed dramatically. Today, thermal imaging is a practical option for warehouses, office campuses, retail yards, and even some residential perimeters. But here is the catch: thermal cameras behave very differently from standard security cameras. They have unique lens requirements, different detection range calculations, and their own environmental limits. That is why a dedicated thermal camera planner can make or break a project. Without one, you risk misjudging coverage, overspending on hardware, or failing to meet safety compliance standards.
How Thermal Imaging Differs from Visible-Light Cameras
A standard security camera captures reflected light. A thermal camera, or IR camera, detects heat radiating from objects. This fundamental difference changes how you approach camera placement. With a visible-light camera, you worry about lighting, shadows, and contrast. With thermal, you worry about thermal sensitivity, temperature gradients, and atmospheric conditions.
I once worked on a site survey for a cold-storage facility. The client wanted to monitor a long, narrow corridor where temperatures hovered around minus 20 degrees Celsius. A regular camera would have struggled with the constant frost and poor lighting. Thermal imaging handled it easily. But the detection range I had assumed based on the spec sheet turned out to be optimistic because the corridor was so cold that the temperature difference between the walls and a person was smaller than expected. A good thermal camera planner would have flagged that during the design phase.
What a Thermal Camera Planner Actually Does
A thermal camera planner is not a physical tool. It is a methodology, sometimes supported by software, that helps you choose the right thermal lens, calculate detection range, and position cameras for maximum effectiveness. In practice, it combines the physics of thermal radiation with the geometry of your site. You need to know the target size, the expected temperature difference, and the environmental factors like rain, fog, or snow. Then you match those to the camera's thermal sensitivity and lens focal length.
Most security designers are comfortable doing this for visible-light cameras. But thermal introduces variables that are less intuitive. For example, a thermal camera with a 19 mm lens might give you a detection range of 400 meters for a vehicle but only 100 meters for a person. If you are planning a perimeter around a fuel depot, that difference matters. A thermal camera planner forces you to think in those terms from the start.

Practical Considerations for Camera Placement
Camera placement for thermal cameras is not the same as for standard security cameras. You cannot just point a thermal camera at a gate and hope for the best. The angle matters. A shallow mounting angle reduces the effective detection range because the camera sees more sky and ground and less of the approaching target. I have seen installers mount thermal cameras flat against walls, only to discover later that the detection zone was useless beyond 30 meters.
Another issue is obstructions. Thermal cameras cannot see through glass because glass blocks long-wave infrared. That sounds obvious, but I have been on calls where someone installed a thermal camera behind a window expecting it to work. A proper thermal camera planner accounts for these details. It also considers the IP rating of the housing. Thermal cameras often run in harsh environments - foundries, chemical plants, cold rooms - so the housing must match the conditions. Some cameras from Hikvision and Dahua offer IP67-rated enclosures, but if you need high-temperature resistance for a furnace area, you might need a special housing from FLIR or Axis Communications.
Integration with Other Systems
Thermal cameras rarely work alone. They feed into larger systems. For example, a thermal camera detecting a fire in a server room can trigger fire suppression systems. That requires the camera to be positioned so it sees the whole room, not just a corner. Similarly, temperature screening cameras used for health checks need a specific placement to ensure accurate skin temperature measurement. The camera must be at a certain distance and angle, and the environment must be stable. A thermal camera planner helps you define those parameters before you buy hardware.
I have also seen thermal cameras tied into smart HVAC systems. If a building's thermal imaging shows that a conference room is empty, the HVAC can reduce cooling in that zone. That integration requires careful camera placement so the camera covers the right areas without false triggers from sunlight or machinery. Bosch and Axis Communications both offer cameras with built-in analytics for this kind of use case.
Common Pitfalls in Thermal Camera Design
Over the years, I have noticed a few mistakes that come up again and again when people skip the planning step.
- Assuming detection range equals identification range. A camera might detect a person at 200 meters, but you cannot identify them at that distance. For security, you often need identification range, which requires a longer lens or a higher-resolution sensor.
- Ignoring weather effects. Heavy rain or fog reduces thermal range significantly. A site survey should include typical local weather conditions.
- Using the wrong lens. A wide-angle thermal lens gives good situational awareness but poor detection distance. A narrow lens does the opposite. You need to match the lens to the specific zone you are covering.
- Forgetting about power and data. Some thermal cameras require Power over Ethernet, but if the run is long, you might need a midspan injector. Plan for that during the design phase.
A thermal camera planner helps you avoid these issues by forcing you to consider the full picture before you commit to a layout.
Software and Tools That Support Thermal Planning
There are several ways to approach thermal camera planning. Some manufacturers provide their own calculators. FLIR has a tool that lets you input target size, distance, and temperature difference, then it shows you which cameras meet the requirements. Hikvision and Dahua offer similar web-based tools. But these are usually limited to their own product lines.
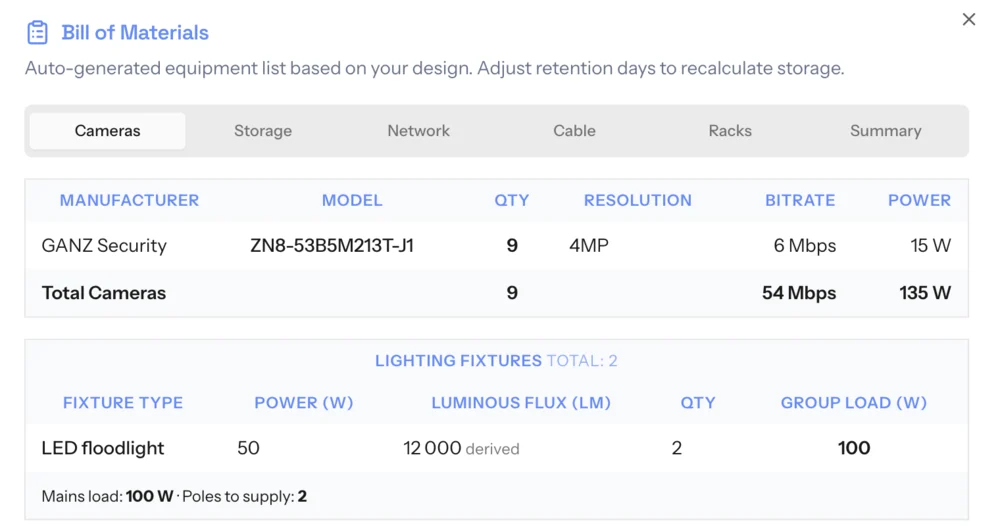
For a more vendor-neutral approach, a CCTV planner tool can help you lay out camera positions on a map or floor plan. You can drop thermal cameras onto the drawing, set their detection zones, and see how they overlap. This is especially useful for large sites with multiple camera types. I have used a CCTV planner to combine thermal cameras for perimeter detection with PTZ security cameras for close-up verification. The CCTV planner let me adjust the camera placement until I had a coverage map that worked.
One thing I appreciate about good planning software is that it forces you to document your assumptions. When you generate a client offer or a technical export, you can show the client why you placed a thermal camera at a certain point. That builds trust. It also helps with safety compliance. If a regulatory body asks why you chose a particular detection range, you have the calculations ready.
Real-World Example: A Warehouse Perimeter
Let me give you a concrete example. A few years ago, I worked on a warehouse site that stored high-value electronics. The client wanted to detect intruders before they reached the building. The perimeter was about 800 meters long, with a mix of open ground and a treeline. We considered standard night vision cameras, but the treeline created shadows and the lighting was uneven. Thermal was the better choice.
Using a thermal camera planner approach, we broke the perimeter into zones. For the open areas, we used cameras with a 35 mm thermal lens from FLIR, which gave us a detection range of about 500 meters for a person. For the treeline, we used cameras with a 19 mm lens from Hikvision, because the trees reduced the effective distance. We mounted the cameras at a height of 4 meters to avoid the shallow-angle problem. The CCTV planner software let us draw the detection zones and adjust until we had full coverage with no gaps.
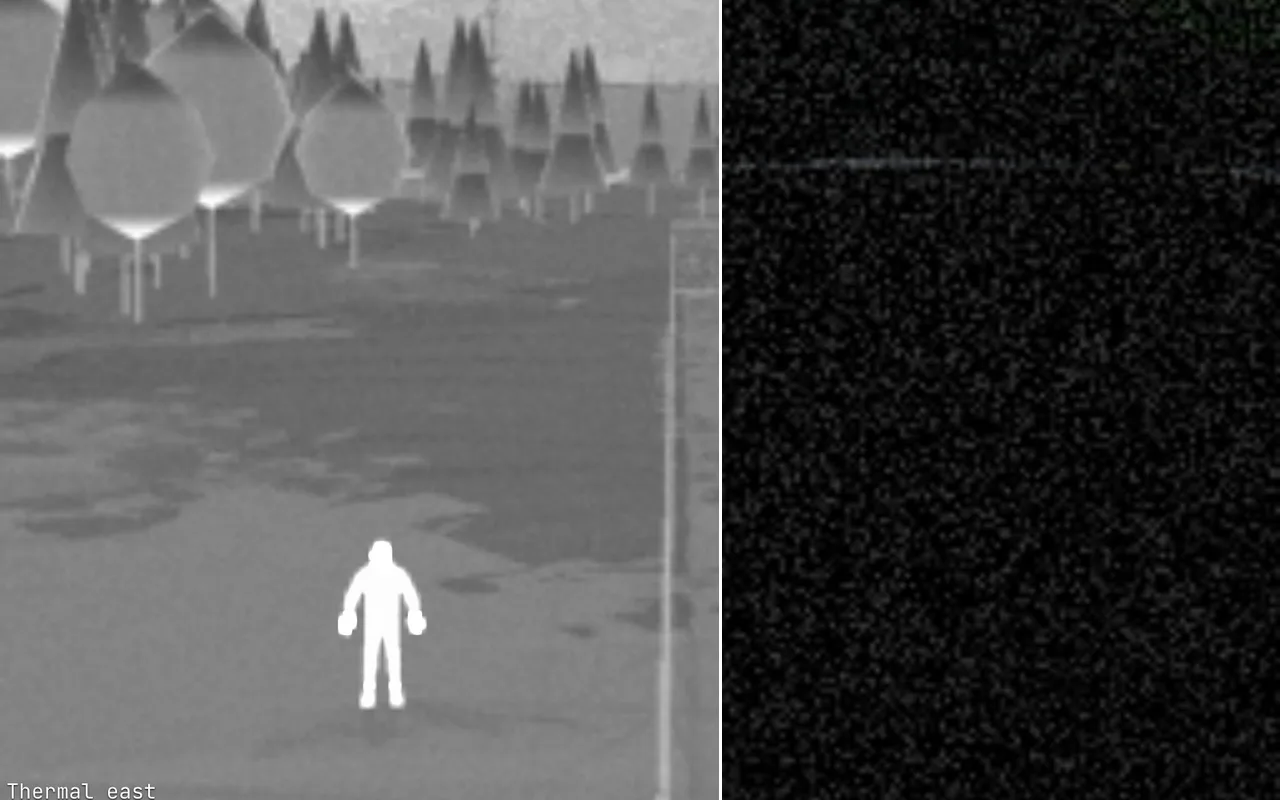
The result was a system that detected a person walking across the field at 400 meters. The operator could see the thermal signature clearly and had time to respond. Without that planning, we might have used cameras with too short a lens and missed the treeline entirely.
Final Thoughts
Thermal cameras are powerful tools, but they demand respect. You cannot treat them like regular security cameras and expect good results. The physics is different, the calculations are different, and the installation details matter more. A thermal camera planner - whether that is a software tool, a checklist, or a methodical approach - is what separates a system that works from one that disappoints.
If you are designing a system that includes thermal imaging, take the time to plan it properly. Consider the detection range, the thermal sensitivity, the lens choice, and the environmental conditions. Use a CCTV planner to visualize the coverage and export your design for the client. And always, always do a site survey. The best plans on paper still need to match reality. But with a solid thermal camera planner in your workflow, you will save time, avoid costly mistakes, and deliver a system that actually performs.